


Application Instructions
We’ve updated our application instructions, and they’re free to download on our website. This guide covers everything you need to know for applying underglaze transfers, kiln fired overglaze decals, oven fired overglaze decals, and 24k gold overglaze decals - all in one place!
Don’t worry if you can’t print - everything you need is right below!
Underglaze Transfer Instructions
Our underglaze transfers are lead-free, food-safe, and screen printed on rice paper -perfect for greenware or bisqueware. They fire up to cone 10, though lighter colors like pink do best at cone 6 or below. For best results, use a zinc-free clear glaze. Unglazed surfaces are food-safe when fired to cone 6 or higher.
Materials Needed:
• Elan Transfers Underglaze Transfer
• Wet, leather hard, or bisque surface to apply transfer to
• Bowl of water
• Plastic rib tool (I use the yellow Y3 mud tools rib)
• Sharp scissors
• Pottery sponge
• Tiny paint brush for touch ups
• Kiln ☺
1. Position the Transfer: Place the transfer sheet face-down on your clay slab or form. Starting from the center, gently press it onto the surface using a damp (but well-wrung) sponge. Avoid excess water, as it can cause smearing.
2. Watch for Color Change: As the transfer adheres, the design will darken slightly. Continue pressing gently with the sponge to ensure full contact with the clay.
3. Check for Full Transfer: Slowly lift one corner of the sheet to check if the design has fully transferred. If not, press it back down and gently sponge again. The wetter the clay, the easier the transfer—but the higher the chance of smearing.
4. Adjust Based on Clay Moisture: The amount of pressure and moisture needed varies depending on how wet or dry your clay is. With practice, you’ll develop a feel for the right balance.
5. For Leather-Hard Clay: On firmer clay, you can use a plastic rib (like the yellow Mudtools Y3) to press the transfer down—similar to applying a window decal. Avoid using ribs on wet clay (they may smear the design) or bisqueware (they’re less effective).
6. Remove the Backing Paper: Once the transfer is complete, slowly peel away the paper. If any areas didn’t transfer, lay it back down and rub gently with a damp sponge or your fingertip. Use leftover ink on the sheet and a fine brush to fill in missed or smudged spots.
Greenware: Let your piece dry completely to bone dry, then bisque fire. Since the underglaze isn’t fully fused at this stage, handle with care to avoid smudging. Don’t wash the bisqueware - gently blow off any dust instead. Apply a zinc-free clear glaze and glaze fire as normal.
Bisqueware: Wait 24 hours or more after applying the transfer before glazing to prevent peeling. Once fully dry, glaze and fire as usual.
Glazing Tip: Use a thin, even coat of zinc-free glaze. Thick glaze may cause thedesign to blur.
Kiln Fired Overglaze Decal Instructions
Our full-color water slide overglaze decals are food safe and lead free. Apply them after glaze firing for best results. Because they are semi-transparent, they work best on white or light-colored glazes, smooth flat surfaces, and non-textured finishes. Note: curved surfaces can be more challenging to apply to.
Materials Needed
• Elan Transfers Kiln Fired Overglaze Decal
• Glazed ceramic piece to apply decal to
• Bowl of warm water
• Plastic rib tool (I use the yellow Y3 mud tools rib) or a roller also works
• Sharp scissors
• Rubbing alcohol
• Lint free cloth
• Kiln ☺
1. Clean the Surface: Use a lint-free cloth and rubbing alcohol to remove oils and dust from the ceramic surface.
2. Prep the Decal: Remove the white protective sheet from the decal. Cut out your design as close to the edge as possible to minimize visible cut lines after firing.
3. Pre-warm China and Decal: Soak your china in hot water (115–125°F) for a few minutes and leave it wet to help the decal stick. Meanwhile, dip the decal in lukewarm water (85–95°F) for 3 seconds, then let it sit on a table for 45–60 seconds until it uncurls. This helps the decal be less brittle and more flexible.
4. Apply the Decal: Slide the decal onto the china and gently smooth it from the center outward using a paper towel, squeegee, or angled paint brush to remove all air and water. Trapped moisture may cause bubbling during heating.
5. Dry Thoroughly: Use a clean lint-free cloth to gently dry from the center out. Let it dry completely - ideally overnight or for at least 6 hours until no moisture is left.
6. Fire: Once fully dry, fire your piece in a kiln according to this:
• 350°F / HR until 788°F hold for 0 min
• 400°F / HR until 1616°F hold for 15 min
• Shut off kiln and let cool
If you are using a manual or kiln sitter kiln please fire to cone 012 and use a slow increase until the kiln reaches 500 degrees F and then fire on a medium setting until cone 012.
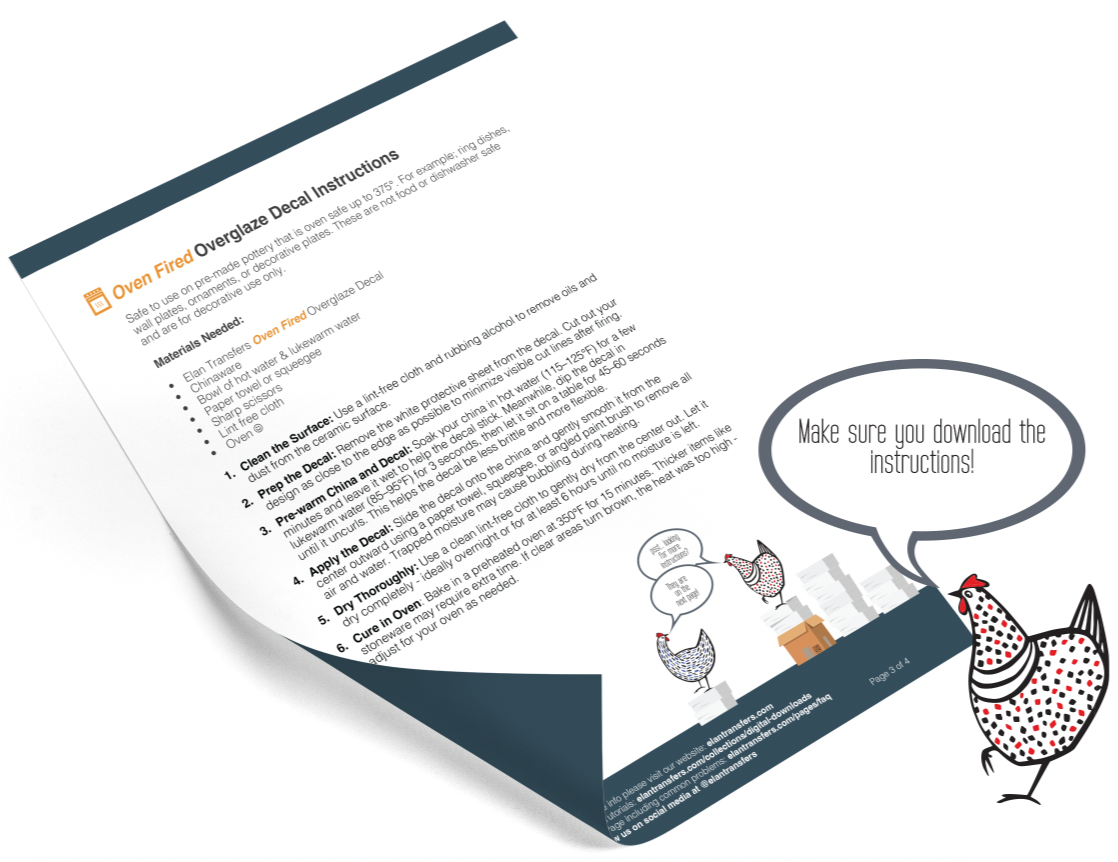
Oven Fired Overglaze Decal Instructions
Safe to use on pre-made pottery that is oven safe up to 375°. For example; ring dishes, wall plates, ornaments, or decorative plates. These are not food or dishwasher safe and are for decorative use only.
Materials Needed:
• Elan Transfers Oven Fired Overglaze Decal
• Chinaware
• Bowl of hot water & lukewarm water
• Paper towel or squeegee
• Sharp scissors
• Lint free cloth
• Oven ☺
1. Clean the Surface: Use a lint-free cloth and rubbing alcohol to remove oils and dust from the ceramic surface.
2. Prep the Decal: Remove the white protective sheet from the decal. Cut out your design as close to the edge as possible to minimize visible cut lines after firing.
3. Pre-warm China and Decal: Soak your china in hot water (115–125°F) for a few minutes and leave it wet to help the decal stick. Meanwhile, dip the decal in lukewarm water (85–95°F) for 3 seconds, then let it sit on a table for 45–60 seconds until it uncurls. This helps the decal be less brittle and more flexible.
4. Apply the Decal: Slide the decal onto the china and gently smooth it from the center outward using a paper towel, squeegee, or angled paint brush to remove all air and water. Trapped moisture may cause bubbling during heating.
5. Dry Thoroughly: Use a clean lint-free cloth to gently dry from the center out. Let it dry completely - ideally overnight or for at least 6 hours until no moisture is left.
6. Cure in Oven: Bake in a preheated oven at 350°F for 15 minutes. Thicker items like stoneware may require extra time. If clear areas turn brown, the heat was too high - adjust for your oven as needed.
24K Gold Overglaze Decal Instructions
Water slide overglaze 24K gold decals for use on pottery that has already been glazed fired. We use the highest quality German gold for our decals which will result in the brightest and purest gold designs on the market. These work best on smooth flat surfaces and non-textured finishes. Note: curved surfaces can be more challenging to apply to.
Materials Needed:
• Elan Transfers 24k Gold Overglaze Decal
• Glazed ceramic piece to apply decal to
• Bowl of warm water
• Plastic rib tool (I use the yellow Y3 mud tools rib) or a roller also works
• Sharp scissors
• Rubbing alcohol
• Lint free cloth
• Kiln ☺
1. Clean the Surface: Use a lint-free cloth and rubbing alcohol to remove oils and dust from the ceramic surface.
2. Prep the Decal: Remove the white protective sheet from the decal. Cut out your design as close to the edge as possible to minimize visible cut lines after firing.
3. Pre-warm China and Decal: Soak your china in hot water (115–125°F) for a few minutes and leave it wet to help the decal stick. Meanwhile, dip the decal in lukewarm water (85–95°F) for 3 seconds, then let it sit on a table for 45–60 seconds until it uncurls. This helps the decal be less brittle and more flexible.
4. Apply the Decal: Slide the decal onto the china and gently smooth it from the center outward using a paper towel, squeegee, or angled paint brush to remove all air and water. Trapped moisture may cause bubbling during heating.
5. Dry Thoroughly: Use a clean lint-free cloth to gently dry from the center out. Let it dry completely - ideally overnight or for at least 6 hours until no moisture is left.
6. Fire: Fire to cone 018 or 019 on a slow schedule. If using a manual or kiln sitter kiln, fire to cone 019 with a slow increase of 150°F per hour until the kiln reaches 750°F, then continue on a medium setting until cone 019 is reached.
When using with full-color kiln fired overglaze decals, fire those first to cone 012, then apply gold decals and fire again to cone 018/019.